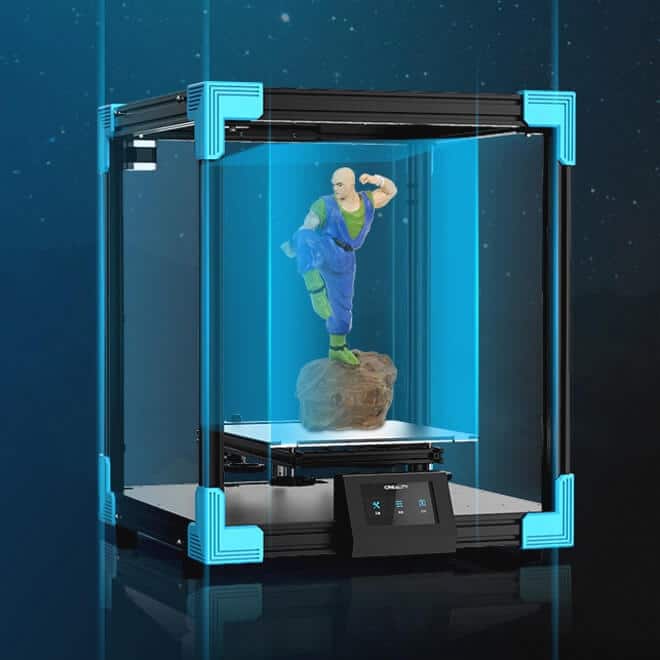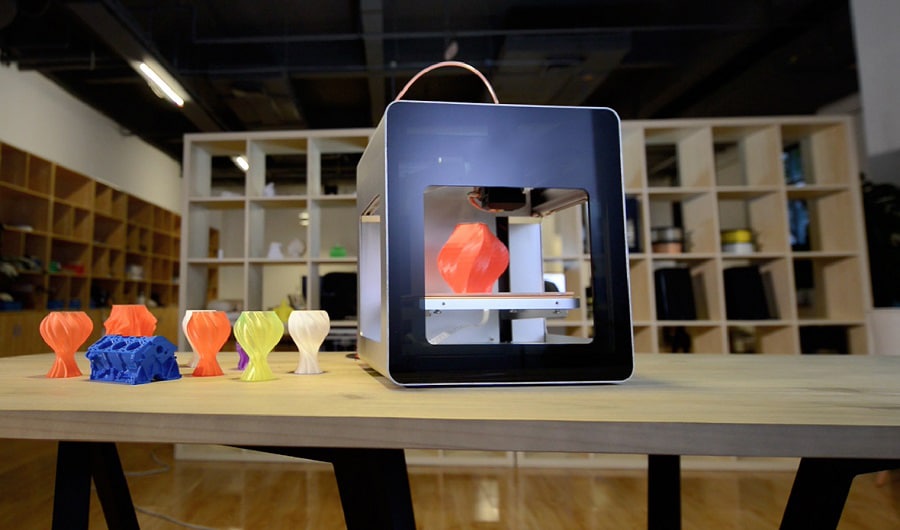


The Creality CR-6 SE is the upgrade of the Ender 3 V2, and comes with an even more reliable operation. You can expect an elevated printing experience, with a 32-bit board and a quality stock print. Let’s take a closer look in the Creality CR-6 SE review.
The Creality CR-6 SE is an ideal choice for 3D printing enthusiasts that want to achieve excellent results without any challenges. As long as you print with dry filament, the printer will be reliable and you won’t experience any errors. Since the printer has automatic features, it is ideal for those that don’t want to get their hands dirty.
The CR-6 SE provides a smooth printing experience, with high-precision printing effects, an easy-to-use interface, automatic leveling, and an affordable price. When you purchase the CR-6 SE, it comes in a compact package with every tool you need for assembly and operation. There are tools and 200 grams of white PLA filament, so you can make test prints first.
Here are the tools that come with the Creality CR-6 SE:
The printing performance of the CR-6 SE is on par with the printer’s quality. Let’s take a closer look at the printer.
Creality is a China-based company that was founded in 2014 by Chen Chun, Liu Huilin, Ao Danjun, and Tang Jingke. The company focuses on making consumer-grade and industrial-grade 3D printers. The Creality printers are one of the most popular in the market, specifically because of the build quality and volume that makes them stand out from the competition.
Creality does not only make FDM and resin 3D printers, but also resins, filaments, and different accessories. With proper maintenance, cleaning, and replacements these printers can last between 5 and 10 years.
The Creality CR-6 SE offers excellent out-of-the-box print quality, offering what you would expect of a printer from this manufacturer. The Cura slicer contributes to the print quality, especially with the latest version, and the innovative bed leveling greatly improves it.
There is almost no difference between the print quality you get on the CR-6 SE and Ender 3 V2. The 3D printer offers an impressive accuracy of 0.1 mm and a layer thickness of 0.1 to 0.4 mm. This gives you an impressive print quality, as you can barely see the individual layers and you can feel it with your nails.
The CR-6 SE is ideal for printing mechanical parts. The stock print quality is excellent, and it features a print speed from 60mm to 180m per second.
This allows you to print a wide range of models very quickly. As for the print volume, it is 235 by 235 by 250 mm.
One of the highlights of putting the CR-6 SE printer together is the fact that most parts come pre-assembled. Due to this, the assembly is very simple. The instruction manual Trusted Source CREALITY CR-6 SE 3D Printer User Manual - Manuals+ For the best experience, please read the instructions before operating the Printer. manuals.plus is also easy to understand, with different pictograms that you can follow. You can finish assembling the printer within minutes.
Here are the steps to follow to assemble the 3D printer:
Aside from the easy setup and well-stocked tool drawer, there are different useful features to look out for when using the Creality CR-6 SE printer. From the unique auto-leveling feature and the filament sensor to the quiet operation and Meanwell power supply. Take a closer look below.
The most significant feature of the CR-6 SE is the automatic leveling feature. Unlike other Creality printers where you have to manually level the platform with a sheet of paper, the CR-6 SE has a force-based sensor that makes automatic bed leveling hassle-free.
The automatic platform leveling on the CR-6 SE is different from other 3D printers because it uses strain gauges. The print bed is permanently installed so you cannot adjust the height. Through the strain gauge, the 3D printer will signify whenever the nozzle comes in contact with the print bed. This would immediately stop the Z-axis from moving.
The auto-leveling has a highly accurate measurement method, so you don’t have to worry about repeatedly aligning the print bed or setting it up. You can set up the automatic leveling through the touchscreen menu, but before using it, make sure the nozzle is clean.
On the CR-6 SE, there is a large portrait-oriented touchscreen and it is designed with a bold user interface. The touchscreen makes it easy for you to operate the printer, as it has a naturally intuitive interface. Using the printer is convenient, even for those that are not tech-savvy. The UI is easy to navigate too.
The responsive color touchscreen is combined with Marlin firmware. It responds to your touch instantly and has a simple menu. There are four submenus on the main menu, which include Print, Prepare, Control, and Level.
The Print menu includes all you need to print models on your SD card. Then the Control menu includes settings for languages, temperature, and more. In Prepare, you will see settings for moving, cooling, and heating the hot end, and more. Then Level is what controls the automatic bed leveling feature. The menu has illustrations that improve the ease.
On the print bed of CR-6 SE, you will see a removable carborundum glass plate. This is fixed with two snaps, which makes it more practical than using paper clips like other 3D printers. The glass is hardened too, which means it will last longer. There is no danger of the nozzle colliding with the glass since it is flat too.
Since the print bed is also permanently installed and there is no freedom of movement, leveling is easier. On the external adjustment, there are four screw knobs that keep the glass plate very stable and balanced. All of these contribute to the quality of the prints.
The glass plate provides top-quality adhesion too, so the model sticks to the surface well without moving too much. Once the glass plate cools down, you can remove the object easily as it also doesn’t stick too tightly.
Another highlight of the CR-6 SE is the quiet operation. You don’t have to worry about an annoying sound whenever you print. The printer is constructed with a 32-bit silent motherboard from Creality, and TMC2209 stepper motors, which makes it really quiet. This is an upgrade from other Creality printers.
The Trinamic stepper motors are very quiet and also allow the 3D printer to move silently. This type of motor is very popular in 3D printers because of this. This is very useful because the stepper motors usually make the most noise on a 3D printer aside from the fan. Keep in mind that you can still hear the fans on the CR-6 SE, but they are quieter than normal.
Since the CR-6 SE is very quiet, you can operate your 3D printer in the same room you are doing other things, like working or hanging out.
A unique feature of the CR-6 SE is the double Z-axis, which sets it apart from low-budget 3D printers. Printers with only one Z axis usually have the problem of lack of stability or a gantry sag, but you don’t get that with the CR-6 SE. This is yet another feature that contributes to the stability and printing quality of this model.
The CR-6 SE also does not suffer from a z-wobble, which you would get on 3D printers that have only one Z axis. The z-wobble is caused because the Z-axis will vibrate a bit when moving, which leads to different printing errors like ringing or ghosting.
On the CR-6 SE, the Z axes are put together with a toothed belt. There are two stepper motors, and the design stops one stepper motor from moving out of sync in comparison with the other. Although this means there’s an extra cost, it’s totally worth it.
Another feature you get is the filament sensor, which lets you know whenever there is a filament runout or breakage. The photoelectric filament sensor is very useful, especially if you’re making a large model. It informs you of when the filament has almost finished so you can fill it up before printing or continuing with your print.
Keep in mind that it might be difficult to set up the Creality CR-6 SE with the filament sensor. It is quite difficult to push the filament through the sensor and into the extruder. This is because the filament is a bit bent at the end, which makes it difficult to push it through the sensor.
Aside from this, the filament sensor is a very top-notch feature that is worth the high price tag that the CR-6 SE is offering. Like the printers from our selection of the best printers under $500, it’s ideal for printing enthusiasts that want to make bigger prints.
Another highlight of the CR-6 SE is the nozzle quality. The printer is designed with a modular nozzle or hot end. You are allowed to exchange the heat block, PTFE tube, heat sink, or nozzle tip, especially since it includes different spares for you to exchange.
One of the downsides of many printers is the supplied nozzles, as some have cheap nozzles with chips inside or bad shapes. While you get this with low-budget 3D printers, this isn’t the same with the CR-6 SE printer.
The 3D printer follows the usual Creality quality. There are two replacement nozzles too, which meet the standard that you’re looking for. Keep in mind that you should clean your nozzle properly and regularly. Don’t use highly abrasive filaments like wood or carbon if you want to use the nozzle for a long time. Luckily, there are replacements that you can fall to.
The Creality CR-6 SE has an advanced extruder from other Creality 3D printers, which means you don’t need to replace or upgrade it like users might have done with others. The extruder is not fully made of plastic like the cheaper 3D printers, and this is because there are metal components inside.
Because of the plastic-metal construction, the extruder is able to exert a lot of pressure on the filament. It also wears out very slowly, so you don’t have to worry about purchasing a new one very soon. In addition, the metal filament guide makes it easy to print with flexible filaments.
The extruder is designed with a large lever on the outside, which makes it easy to operate. In the SD card, you will see information on how to disassemble and reassemble it. You can also make repairs or replacements by following the guide. Keep in mind that the extruder is built compactly, so it’s a bit difficult to maneuver.
If your timing belt is not well tensioned on your 3D printer, you will face a wide range of printing problems, including layer shifts. But, the CR-6 SE solves this problem with easy belt tensioning. The belt should be not too loose or too tight, but correctly tensioned.
Even on the Ender 3, you have a problem with tensioning the timing belt because the process is tedious and complicated. Due to this, many Ender 3 owners had to upgrade it to make it easier for themselves.
The CR-6 SE is fitted with easy-to-use tensioning wheels, which are placed on the two toothed belts. The wheels allow you to change the tension of the timing belt, and you can do this easily, precisely, and quickly. This upgrade to the new Creality 3D printer makes it worth the cost.
On the CR-6 SE, you get a top-quality Meanwell power supply. This means your printer can expect some fantastic power as it’s operating. The power supply is 24V and 350 W, and this causes it to heat up quickly, leading to a faster print time and quality.
Although, keep in mind that this power supply contributes to the noise of the printer, especially if you use high temperatures to print. The 3D printer will get louder the higher the temperature it will be. You can avoid this noise by printing mainly with PLA rather than other materials that require high temperatures.
The 3D printer is also fitted with an ATmega2560 control chip, and this leads to thermal equality when printing. This allows you to print your models with uniform heating. The control chip also allows for smooth operation and when combined with the power supply, it leads to a low noise level and quick printing.
You will also notice a small storage drawer hidden in the frame of the 3D printer, another convenient feature. The Creality CR-6 SE allows you to store all your tools in the drawer when you’re not using them, as it makes the work surface look tidy and clean. It also adds to the appearance of the printer.
If your printer runs all the time, you might not have to keep all the tools back in the drawer. But, it is useful for keeping spare parts, extras, and replacements like screws and nozzles, so that you don’t lose them.
On top of the CR-6 SE is a carrying handle, although you have to install it to use it. The handle makes it easy for you to transport the 3D printer if the need comes up, although this will be rare. Despite this, it is a handy feature to have on the printer and you can choose to use it or not.
One annoying part of using a 3D printer is having to start your print again when there is a disconnection or power outage. In some cases, filament finishes, and after you stock up, you have to start again. This isn’t the case with the CR-6 SE, which comes with a resume print function.
The printer can fully recover after a disconnection, and when it comes back up, it would resume the print. This means you don’t lose any progress if your printer stops, whether you pull the cord, lose power, or whatnot.
Keep in mind that you should leave your model where it is if there is any interruption so that the printer can continue exactly from where it stopped. If you remove it, you’ll have to start from the beginning.
There’s no doubt that the CR-6 SE comes with a portable and compact design, as it comes with a carry handle for taking it from place to place. It does not take much table space so you can place the printer wherever you want. With the tool drawer and foldable spool holder, it has an attractive, compact design.
The printer has a machine size of 442 by 462 by 540 mm, while the weight is 9.5 kg. This makes it easy for you to carry it to wherever you want, and also store it in a cupboard if you’re not using it.
The CR-6 SE features a sturdy and rigid build that contributes to the consistency and quality of its prints. There is a synchronized movement of all the parts, which means that you get top-quality prints, even when you’re reaching the end of the build volume. The portable printer is made of aluminum.
| PROS | CONS |
|
|
From our Creality CR-6 SE review, you can see that this 3D printer will definitely be worth your purchase, despite the slightly higher-than-average price. The printer is an ideal choice, whether it’s your first purchase or you need an upgrade from your previous printer. It will offer thousands of hours of printing, impressive performance, convenient accessories, and an easy-to-assemble structure that makes it easy for any type of printing enthusiast.
