
Crafting has developed into a massive industry. Research shows that there are over five million Trusted Source Crafts and creative activities in the United States - Statistics & Facts - Statista As of 2015, there were over a thousand U.S. stores operated by Michaels Stores alone and, Guitar Center recorded around seven million U.S. dollars in sales per store for that same year. In 2016, spending in the U.S. by crafters on both kids’ craft, as well as, on painting and drawing each amounted to over seven million U.S. dollars. Sewing and fabric accounted for around 10.9 percent of the total amount spent by crafters for that same year. A monthly average of 60.49 U.S. dollars was spent by both male and female crafter in the U.S. as of September, 2016. www.statista.com copies of craft magazines sold in the USA alone. If you’re serious about crafting, a Cricut mat is a crucial piece of kit.
These mats are specifically designed to ensure fabrics are secure for cutting with ease, particularly when you’re working with a Cricut machine. Cricut mats are engineered using strong, dense material that can withstand the pressure of a blade.
However, over time even the best Cricut mat can get dirty, dull and lacking stickiness. This can leave you with a non-sticky, inaccurate surface that has the potential to ruin a perfect craft project. Fortunately, you don’t need to throw your mat in the trash. Here, we’ll explore how to clean Cricut mats and how to make a Cricut mat sticky again.
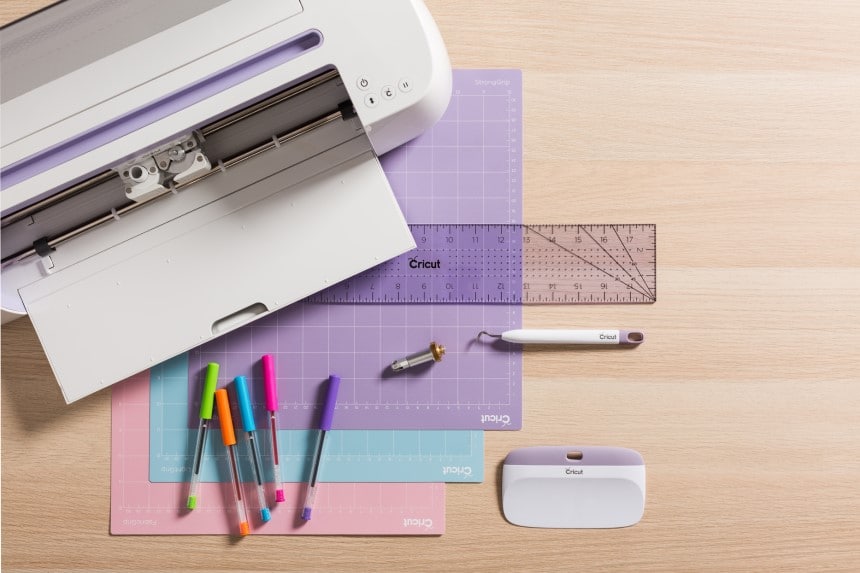
Depending on the materials, you’re working with, you’ll need different types of mats.
Blue: This is a light grip mat designed for cutting lightweight materials. If you put thin materials on a stronger grip Cricut mat, it will be difficult to remove once you’re done cutting. The Blue mat is ideal for normal paper, thin card or construction paper.
Green: This is the standard grip mat and it is the most common. This is the mat that is usually supplied with Cricut machines and works well with medium weight materials such as vinyl and card stock.
Purple: This is the strong grip mat for heavy materials, such as poster board, glitter cardstock, chipboard, balsa or leather.
Pink: This is specifically designed for cutting fabric. This includes bonded fabric or any type of fabric if you’re using a Cricut Maker and rotary blade.
When your Cricut mat is no longer holding your materials properly, it is the ideal time to discover how to clean a Cricut mat. It is important to be gentle with your mat and ensure it is cleaned properly, so it has the potential to offer years of use.
There are a number of different cleaning methods, so you may need to explore which one will work best for your mat. Some mats will only require basic cleaning, while others will need to be fully cleaned more frequently. So, it is important to be familiar with all the cleaning methods to feel confident about tackling any mat cleaning task.
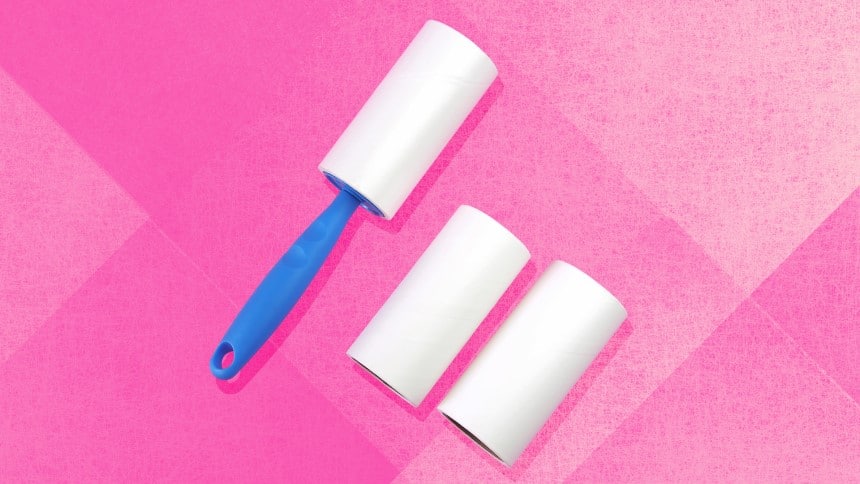
All you need to do is run a lint roller across your mat. This will pick up any fibers, dust, hairs or bits of paper. If you don’t have a sticky lint roller, you can use a loop of masking tape. Roll the tape around your fingers, sticky side out and then run your hand across the mat.
This is a great way to remove any slivers of paper, rather than trying to lift them with tweezers. Since the tape or lint roller is stickier than your mat, it pulls any debris straight off the mat. This is particularly effective on less tacky mats and is safe to use on the pink grip mats.
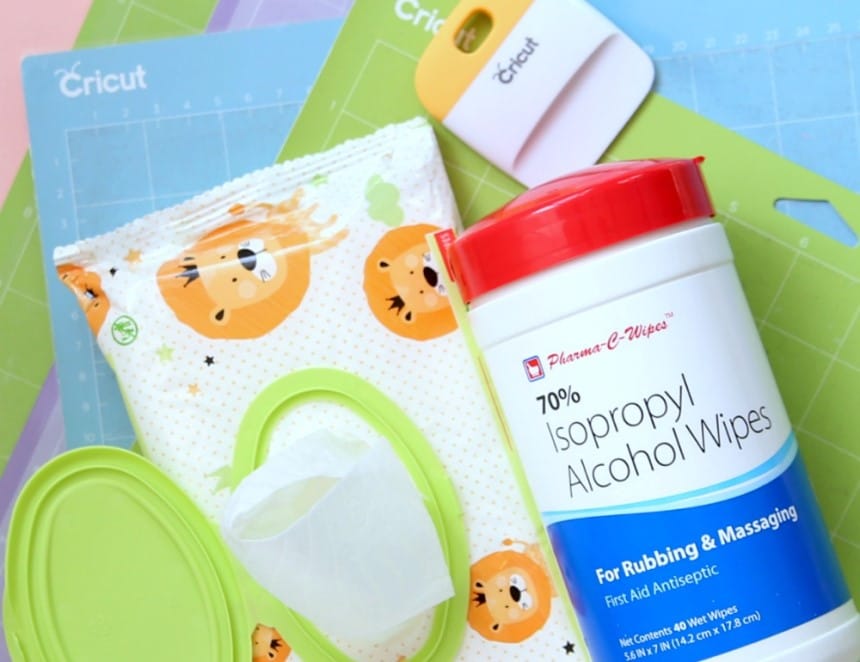
However, whether you’re wiping down your machine or cleaning your Cricut mat, you need to ensure you use the plainest wipes possible. Check the packaging to ensure they are free of cornstarch, lotion or any additional oils or solvents. These ingredients have the potential to interfere with the stickiness of your mat, as they could bread down the adhesive.
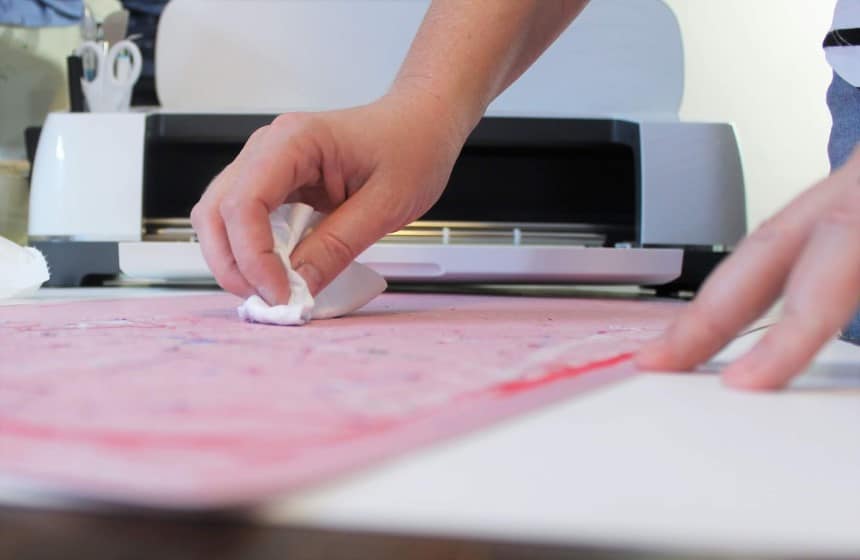
Gently swipe the baby wipe across the surface of your mat. This should pick up any dust or small slivers of material and fibers. Just be sure to allow your mat to dry before using. Baby wipes are actually quite damp and can quickly make the surface wet.
The next method involves how to wash cricut mats with soap and water. This is a more effective method if your mat is looking and feeling a little grubby. While lint rollers and baby wipes can be effective for surface dust and debris, you may need to resort to this method for a more thorough clean.
Be sure to use warm water rather than very hot water. Many people assume that the hotter the water, the better the cleaning, but this is not the case with Cricut mats. In fact, the heat can actually warp the mat which makes it difficult to fit into your machine.
Like using baby wipes, you want to try and use a soap that is free of lotions that may cause damage to your mat. The best option is a plain dish soap.
Use a soft sponge, cloth or soft brush to gently scrub your mat. Keep rinsing your cleaning cloth as you scrub different areas of the mat to avoid adding dirt to another area. Once you’re finishing cleaning, you need to ensure you rinse the mat well. This will ensure there is no soap residue lingering on the mat.
You’ll need to allow plenty of time before crafting with this method, as the mat needs to dry completely before you can use it. Even the best Cricut machines can be compromised by putting a damp mat inside. So, check and double check your mat is dry before use.
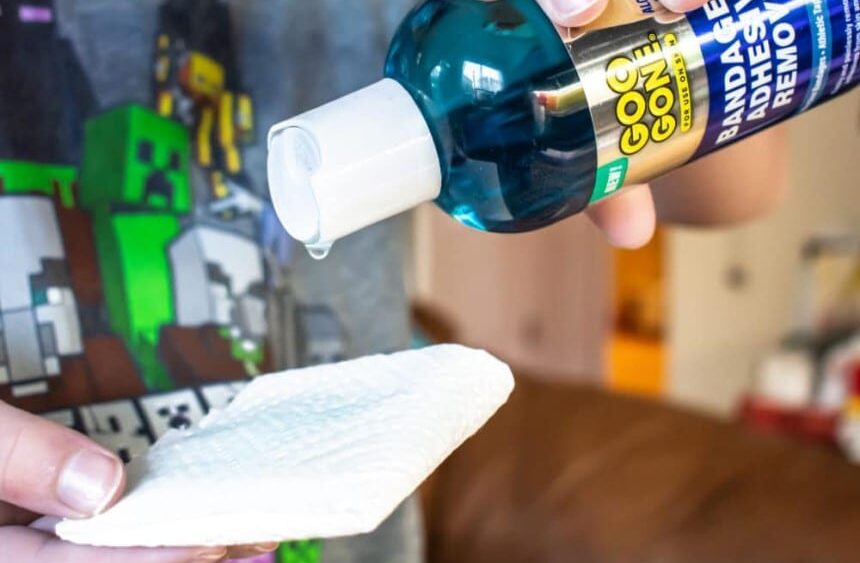
However, using this type of product will strip the mat of its adhesive. You’ll need to be familiar with how to re stick cricut mats before attempting this. But, we will cover this process in more detail later.
There are a number of different adhesive remover products on the market. For example, there is rubbing alcohol (70% isopropyl), concentrated cleaners and universal stain removers. Goo Gone is a popular product within the Cricut crafting community. But, if you already have an adhesive remover product you’re familiar with, you should be able to use it with your Cricut mat.
Although the specific instructions of how to use an adhesive remover to clean a Cricut mat, generally the procedure goes as follows.
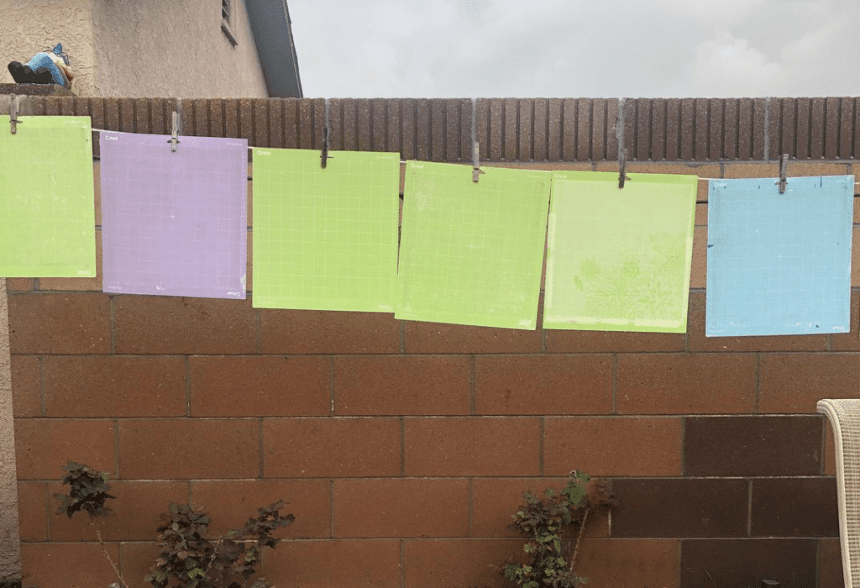
The best way to ensure your mat is completely dry is by hanging it after washing. It is important both sides are dry, so leaving it sitting on a counter will not be sufficient. Allowing both sides exposure to air will help them to dry. You could even set it upright on your dish rack.
If you can’t wait to get crafting, you may be tempted to try and use a hairdryer or other form of heat to dry your mat. But, this would be a mistake. Exposure to heat may cause warping or splitting, which means that the mat will no longer fit into your cutting machine.
If you do want to speed up the dry time of your mat, you could increase the air circulation using a fan. If your hairdryer has a cool setting, you could use it, but generally speaking it is best to allow the mat time to naturally air dry.
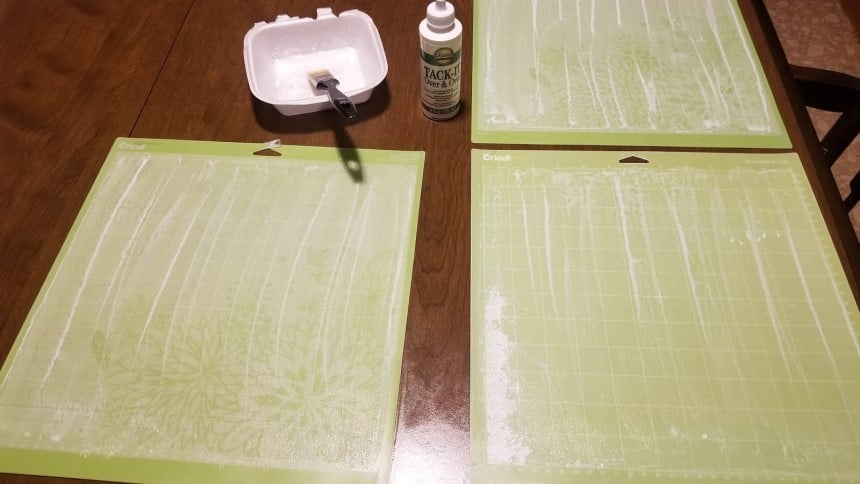
There are a number of methods to restick your mat. You will need a repositionable adhesive or adhesive sticky spray to accomplish this. These are fairly inexpensive products that are available online or at craft stores.
As with solvents, each of these products will have different usage instructions. So, you’ll need to read them before attempting the resticking process. If you’re in a pinch, you may be able to use scrapbooking glue or repositionable glue sticks.
Once you have your adhesive, you’re ready to begin.
Cricut mats are some of the most durable on the market. Just be aware that you will need to periodically clean your mat to prolong its lifespan.
The stickiness of Cricut mats is crucial, as they need to hold materials including vinyl in position. If you have gone through the resticking process and your mat feels too sticky, you can place a towel on it a couple of times to reduce the tackiness.
Yes, you can make your Cricut mat as sticky as it was when it was new. You’ll need to go through the proper steps to clean it and in many cases, restick your mat to ensure it regains its stickiness.
Yes, providing you use the right products and the correct water temperature. Cold water is best, but you can use lukewarm water. Just be sure to avoid hot water that can cause your mat to split or warp.
After cleaning your mat several times, you will need to help it to regain its stickiness. So, using an adhesive spray will help you to be able to use your mat over and over.
Whichever method you use, aim to find a product that does not contain additional oils or lotions. So, stick to plain dish soap, unscented wipes or a basic lint roller.
You need to be careful to avoid getting glue on the edges of your mat. Glue on the edges can get into the machine’s rollers. This can cause bumps as you feed the material through the machine. In a worst case scenario, the rollers may jam and damage your machine. So, it is vital that these rollers roll smoothly for the most accurate cuts.
If you do notice that you’ve got a little glue on the edges of your mat, use a little adhesive remover on a paper towel or q-tip to remove it.
Cricut machines are a great tool for crafters. They can help you to get precise, clean cuts for all types of projects. One crucial part of your machine is the mat. Whatever color mat you’re using, it is important that the precision is not compromised by lint, dust or dirt. Therefore, cleaning the mat is vital.
Regular cleaning of your Cricut mat can help maintain precision and prolong the lifespan of your mat. While it may be possible to clear surface dust with baby wipes or a lint roller, eventually, you are likely to need to give the mat a good clean. So, it is important to know the right and wrong ways of how to clean a Cricut mat, how to dry it and restick it.
Once you get confident cleaning your Cricut mat, you can keep it serviceable. The process of cleaning can be done quickly and it is far cheaper than buying a new mat. Even if you need to purchase adhesive remover and glue sprays, you can keep them on hand for any cleaning and resticking tasks.
