
As a DIYer who likes to get hands-on with your arts and crafts, the Cricut Trusted Source Cricut - Wikipedia Cricut is an American brand of cutting plotters, or computer-controlled cutting machines, designed for home crafters. The machines are used for cutting paper, felt, vinyl, fabric and other materials such as leather, matboard, and wood. In March 2021, Cricut filed for an IPO. en.wikipedia.org machine may quickly become an essential tool for your workshop. You get a bunch of tools to make cutting and crafting easier in that one device. However, beginners often struggle with how to use a Cricut machine effectively. It might take some getting used to in the beginning, but after you learn the basics, it starts to seem like the most intuitive thing in the world.
With this guide, you’ll see just how easy it is to operate and use these devices. In fact, you’ll be taking advantage of the machine to make high-quality crafts in a very short period.
However, we will not look at all of these. Instead, we will explore the three most popular models for DIYers in the lineup. These are the Cricut Maker, Cricut Explore Air 2, and Cricut Expression. Most DIYers find these to provide the most bang for their back hence why they are so popular. Admittedly, learning about these three should also give you a general idea of how to operate the remaining models.
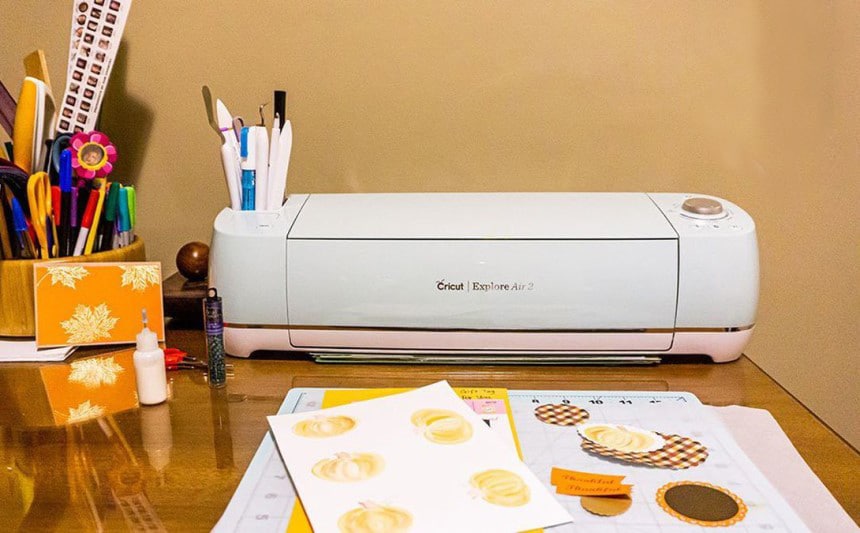
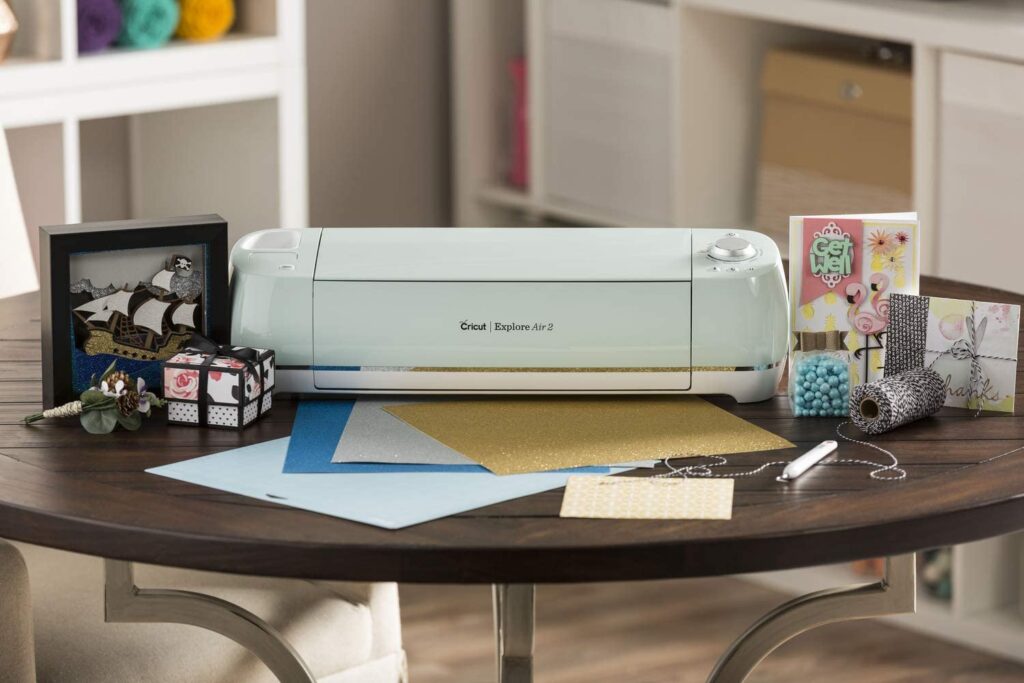
Also, the tool has a few distinguishing qualities that allow you to differentiate it from other Cricut machines. The most obvious is the smart set dial on the right side of the device. This model can cut through more than 100 different types of DIY craft materials such as cardstock, faux leather, vinyl, and more.
Additionally, it has inbuilt Bluetooth, which you can use to connect it to your computer. You will as well have to download the design space app if you want to unleash the full capabilities of this Cricut. Finally, the device’s main capabilities include cutting, writing, and scoring.
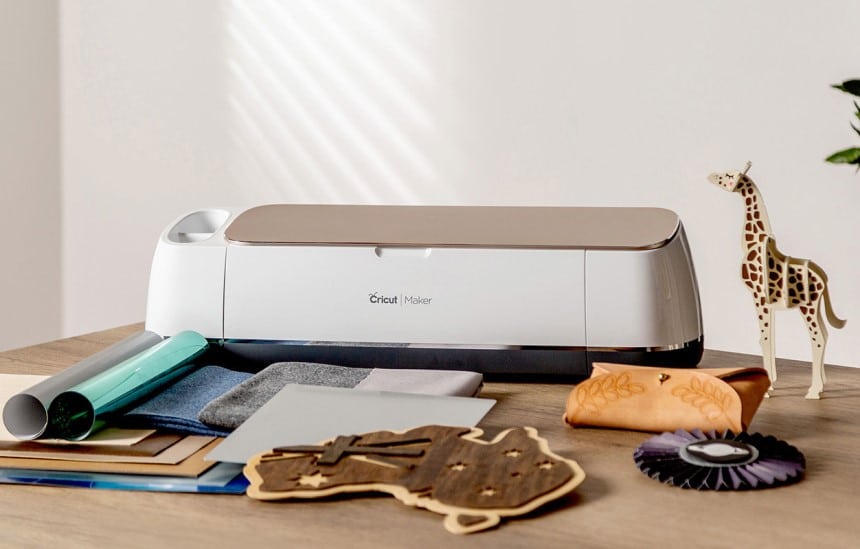
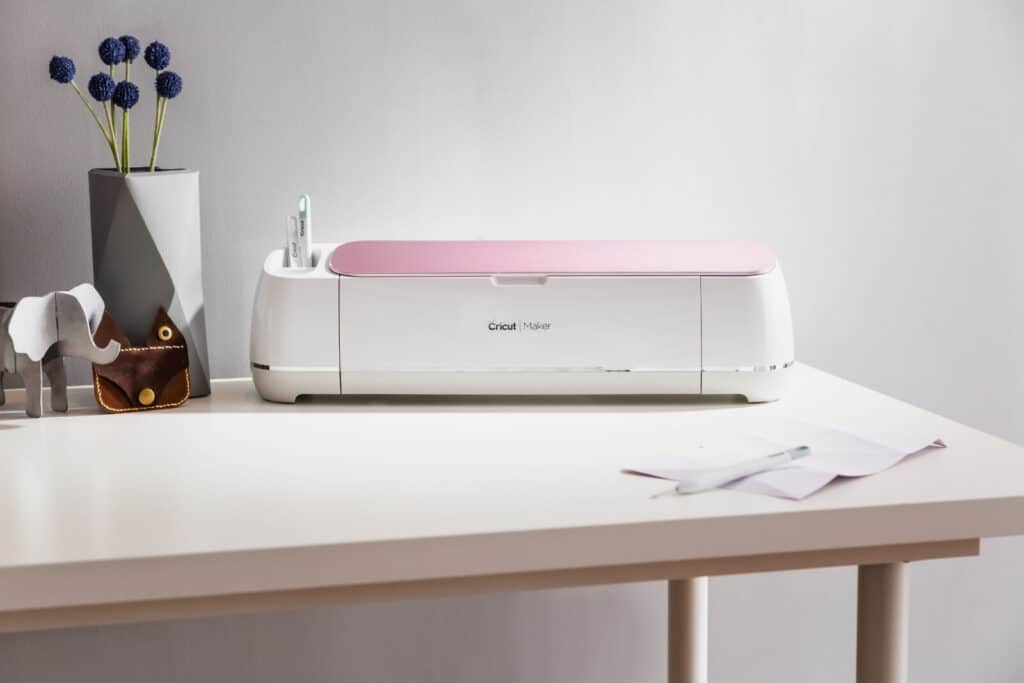
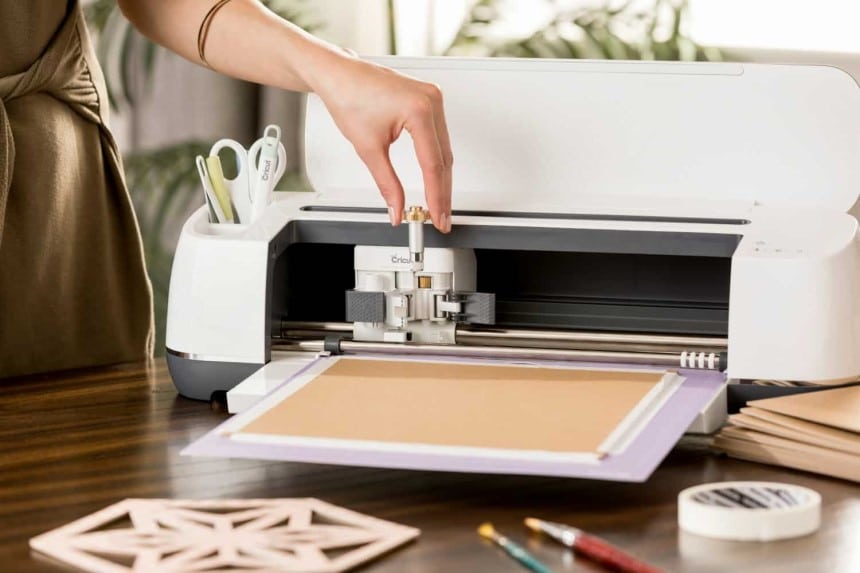
This Cricut has a simple design that’s remarkably similar to the Explore Air 2, especially where the dual tool carriage is concerned. However, the smart set dial is missing. Also, its cutting capabilities are far better than those of the competition, including the Explore Air 2. You can see this in the fact that you don’t need an extra cutter for fabrics when you own this machine.
Seemingly, it is geared towards professional crafters who not only need the extra power and cutting capabilities but the intuitive nature of this Cricut as well.
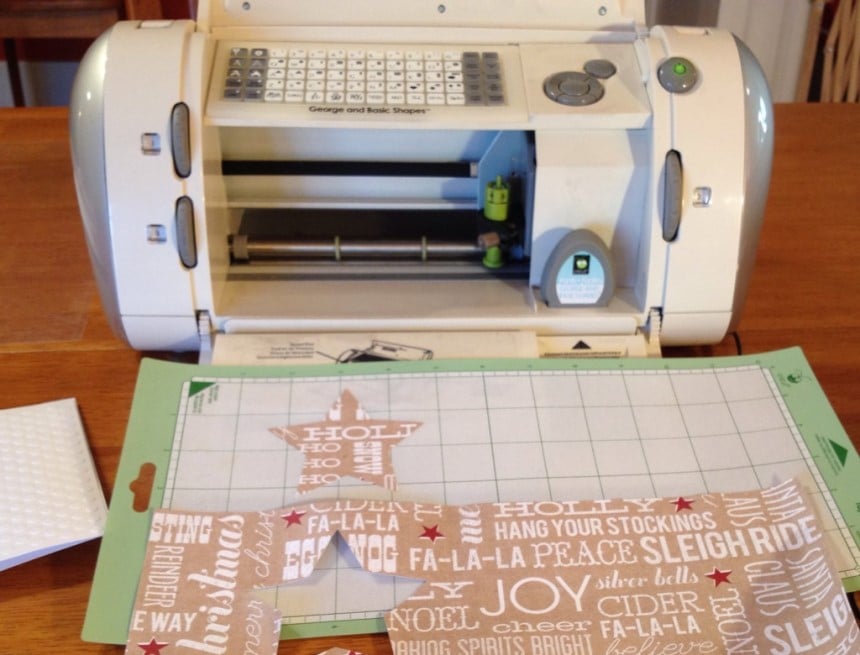
Initially, it was meant to work with the Cricut Craft room. However, this software is almost obsolete. That said, it is possible to use the Expression Cricuts without hooking them up to a computer.
You may need to opt for a more modern machine at a later date. However, as it stands, you aren’t disadvantaged in any way if you plan to purchase or own a Cricut Expression. Most stores that sell the “Expression” these days don’t include the cartridges when they ship the machine to buyers. Nevertheless, some cartridges are still on sale on Amazon if you want them.
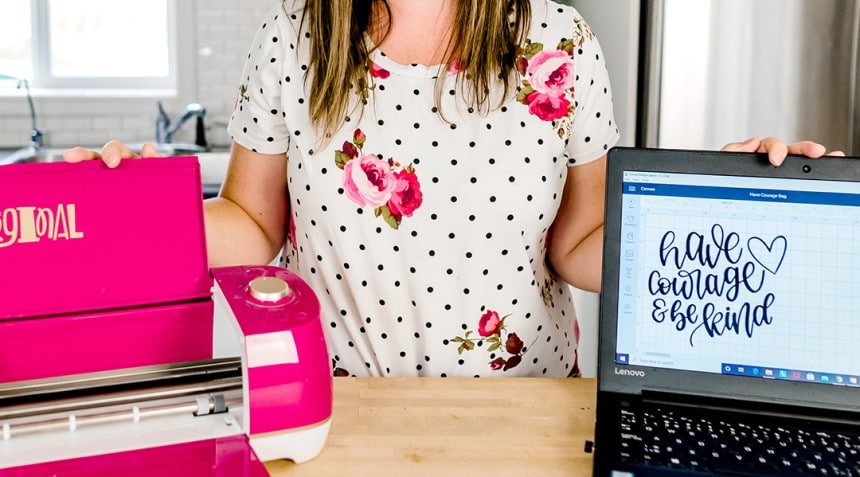
After installing the app on your computer or phone, you will then need to enable Bluetooth. In all of the aforementioned platforms, the Bluetooth feature can be found in the settings. The Cricut also needs to be on, so make sure it is plugged in and that you’ve pressed the power button.
In the Bluetooth settings in your phone or computer, look for available devices. The name of the Cricut should pop up as one of the options. You can then click on it and select the connect option in the dialogue box that opens up.
After that, you may be asked for a passcode, and it should be included in your manual. That said, more often than not, the password is 0000. This concludes the pairing process for the Cricut machine and your smart device.
Some PCs may not be Bluetooth enabled, making it impossible to connect the two devices this way. Additionally, Bluetooth, just like any other technology, may fail. In such an instance, a USB cable is the next best option. If your Cricut machine came with all accessories, the USB cable should be in the package.
Once you open the design app for the first time, you should find that it’s beginner-friendly. The instructions on how to start, work and finish each design project are also included. If you’re like most people in this era, you probably have many smart devices, including your laptop, phone, and more. There is no rule against downloading the design space app on all your devices.
Also, since the app is cloud-based, you should have access to all your designs whenever you log in to your account. You don’t even need to log in from your primary device. That said, the app has an offline mode as well, which is relatively limited. If you intend to use the device without an internet connection, you have to plan ahead and download what you need beforehand. This may include images and fonts.
If you already have a finished project that you designed on the app, you can use them offline as well. To do this, you will have to save the file on your device just as you would a word document or something similar. You click on the save icon, which will give you a drop-down menu. “Save as” will be one of the options, and once you click on it, you can then store your project on your device, whereas you would normally save it directly to the cloud.
Your Cricut machine should come with an ‘Enjoy Card’ program that is basically a step-by-step guide to your first project. This is meant to give you familiarity with the various aspects of the design space app. Admittedly, the ‘Enjoy Card’ project is quite simple and will only show you a snippet of the app and machine’s capabilities. After that, you will need some time to figure the rest of the app out.
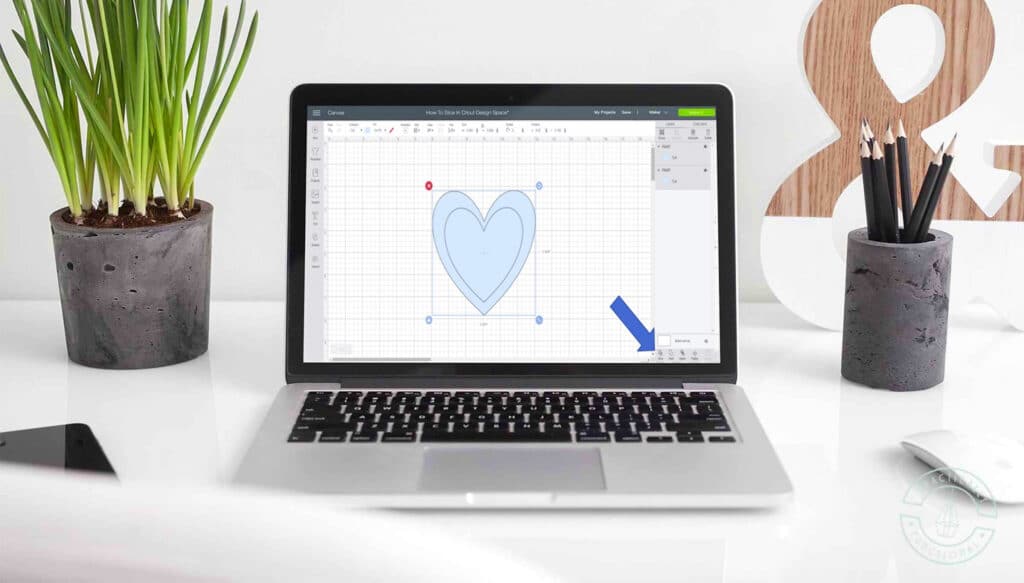
Nevertheless, there are YouTube videos that can help you get the gist of it much quicker. One of the main components of Design Space is the ‘Canvas,’ and you will likely be using this in most of your projects. If you’ve ever used Photoshop or a similar app, it is similar to the work area.
This Canvas area has about four main panels: the top panel, left panel, Right panel, and the main Canvas work area. The top panel is where you’ll find the Editing Menu. This is where you select the fonts and images available. Also, this panel will allow you to edit these fonts/images in terms of size, color, line space, and more. It is remarkably similar to the top panel in Microsoft Word as well.
The left panel allows you to insert whatever you want to work on into the canvas area. It may be text, images, shapes, and more. Notably, this left panel has about seven options to pick from. They include new templates, projects, images, text, shapes, and uploads.
For projects, and images you will be given access to Cricut Access, where you can then choose the images you want to cut. As for text and shapes, selecting either one means you want to insert text or a particular shape into the Canvas area.
If you select ‘projects,’ you will have access to the projects that you have already designed in the design space app. You can choose to cut them as is, or you can edit them a bit before you finally cut them. The ‘new’ option will allow you to start designing something from scratch, and finally, you have the ‘upload’ tab. With this, you can choose images, text, or shapes from external sources.
The right panel is for layers. With this panel, you can group, ungroup, duplicate and delete layers depending on the project’s complexity. This panel is more complex, and it will be harder to get used to. However, playing around with it should give you a general idea of what you can do with this panel.
As for the main Canvas area, it is where your images, uploads, texts, and more will appear for editing before you can complete the project. There are, of course, many other aspects to the app that will benefit you as well. That said, some might argue that if you master this one component, you can do anything you want with the app and with your Cricut machine.
We are assuming that you have already linked the machine with the app, as we mentioned before. Also, you will need to have decided on the image or art that you’re working with on the Design Space app. Locate the Smart Set dial and use it to select the material you’re working with. Notably, the most common materials are vinyl, cardstock, poster board, and more.
The machine will then adjust the blade settings accordingly. For instance, if you chose vinyl, the blade settings in terms of the depth, speed, and force would be changed by the machine to match the material.
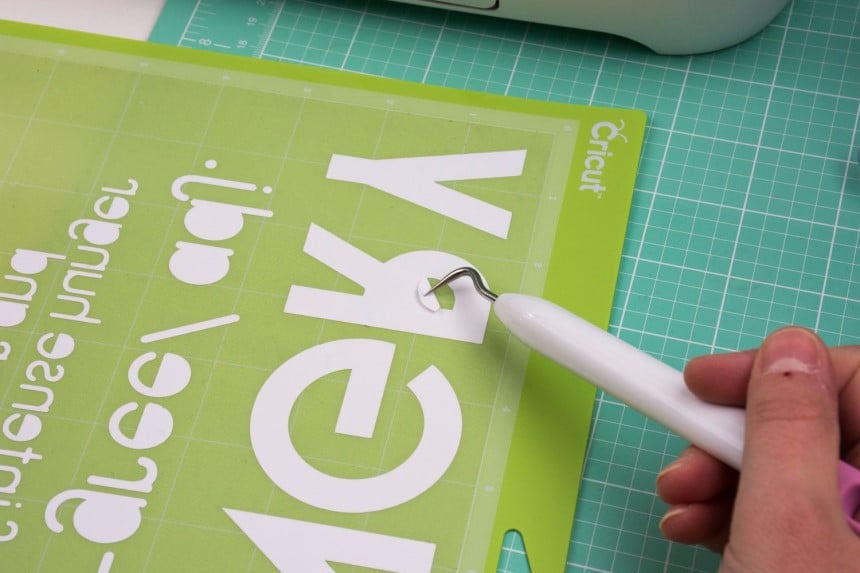
The Smart Set Dial is limited, and there are only so many materials that you can cram into it. Seeing as though the machine cuts over 100 different types of materials, the vast majority of them will be excluded from the dial.
However, there is a marking on the dial that says custom. You can select this marking and then head over to the Design Space app. There will be a drop-down list showing other materials, and you can select one depending on what you’re cutting. After that, you can let the machine do its job.
A thing to note about the Explore Air 2 is that it comes with a fast mode as well. By activating it, you double the speed of the device. That said, the number of materials that you can use the fast mode on is quite limited. It includes vinyl, iron, light cardstock, and cardstock only. This can be awesome if you’re in a rush. However, if you’re using the other 90+ materials, you’ll have to settle for the normal working speed.
Also noteworthy is that the fast mode is noisy, which can be annoying, especially for other people in the house or workshop. That said, it’s not problematic to use it if you don’t have other people around.
Despite being an overall better machine in terms of capabilities and features, the Cricut Maker is easier to use than the Air 2. Of course, you will have to master the Design Space app, but it should be smooth sailing after that.
For one, you’ll quickly note that the Smart Set dial in the Air 2 is exempt from the design of the Maker. However, the Design app will prompt you to select the material type once you decide to cut something. Owing to the sheer number of materials it can cut, this makes things simpler.
Also, if you have other Cricut machines, some of their parts should be compatible with the Cricut Maker. This is because it comes with an adaptive tool system. That said, Cricut also offers some QuickSwap tools, but you will need to buy QuickSwap drive housing if you intend to use them with the Maker. The rotary blade should also make cutting into fabrics that much easier.
On the front of the cartridge, there should be two sections which are often labeled as A and B. B is the one you want to focus on. Consequently, opening the flap on the front of this section should give you access to the blade housing. This is a small rod-like component with a plunger at the top.
Pressing this plunger exposes the blade, which you can then pull out. When replacing it with a new one, remember to press the plunger as well. Lastly, be careful where you dispose of the blades, especially if your kids are around.
How to use a Cricut Expression machine is a different ball game since it’s a legacy machine. You may need Cricut Craft Room which is the software that works with the machine. It is old software, but you can still find it on some download sites.
You will as well need a USB cable as the machine doesn’t have wireless capabilities. Additionally, you can forego some of the capabilities of the tool and use the machine without your computer. For this, you will have to purchase cartridges that contain designs you can use.
If you were to buy a Cricut Expression 2 at this time, it should come with loads of pre-loaded images and fonts. That said, this will hardly be enough, especially for those of you who’ve tried and tested the other modern offerings available.
Of course, the cartridges you buy will add to the capabilities of the machine, but the costs can become a problem over time. Nevertheless, for both the Expression and the Expression 2, you can rotate, flip and resize the images on the machine and in the cartridges. With the Expression, you will use the keyboard and dials, and if you have the second version, you can use the touchscreen and stylus.
While these machines may work for beginner crafters and hobbyists, once you decide to cut unique designs, it will be better to pick a more modern machine.
It’s not hard to see that Cricut devices are among the best die-cutting machines in the market. What makes them better, especially for the newer models, is the design space app. For crafters, they are invaluable tools that will serve them well as long as they have designs they want to create.
The information above does give you tips on how to get started. However, there are so many aspects to these machines that you’ll have to pick up as you go along. Our advice, experiment, and practice as much as you can, and pretty soon, you’ll be a guru in how to use a Cricut machine.
